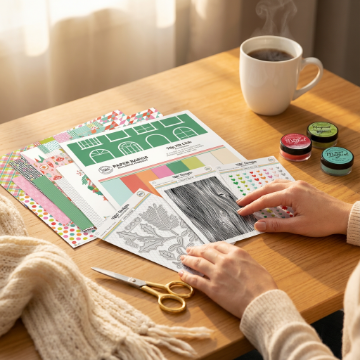
Hey scrapbook lovers! Looking for some fresh ideas to spice up your layouts? We've got you covered with these 10 awesome techniques from our Hip Kit Club design team. Grab your favorite Hip Kit and let's get crafty!
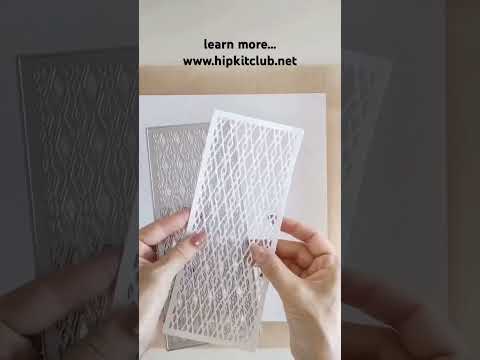
1. Paper weaving for eye-catching backgrounds
Take your layouts to the next level with this cool paper weaving technique. Design team member Kimberly showed us how it's done in her Sunday Fun-Day Live video:
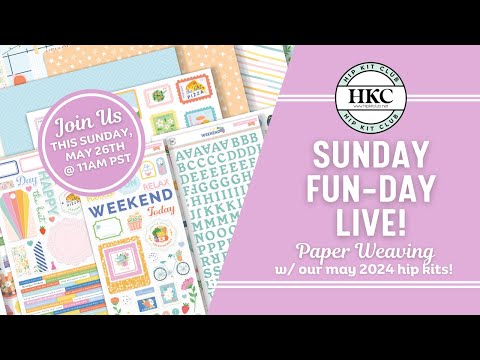
Kimberly used the gorgeous May 2024 Hip Kits to create her woven background. Here's what you'll need:
- 6-10 patterned papers cut into .25" strips (15 of each pattern)
- 1 sheet of white cardstock
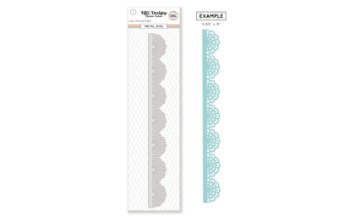
- Small die from our Filmstrip Die Set
- Brick Texture Die
This technique adds amazing texture and visual interest to your pages. Start by cutting your patterned papers into thin strips. Then, create a base by weaving the strips together horizontally and vertically. Use liquid adhesive to secure the strips in place. For added dimension, layer die-cut shapes on top of your woven background. This technique is not only visually striking but also a great way to use up paper scraps!
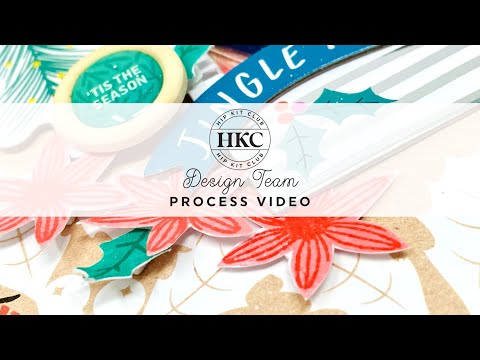
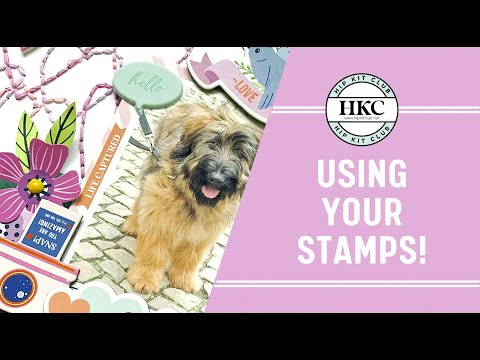
2. Simple stamping for quick and easy layouts
Not sure how to use those cute stamps in your kit? Miss Carrie's got you covered with these beginner-friendly stamping techniques:
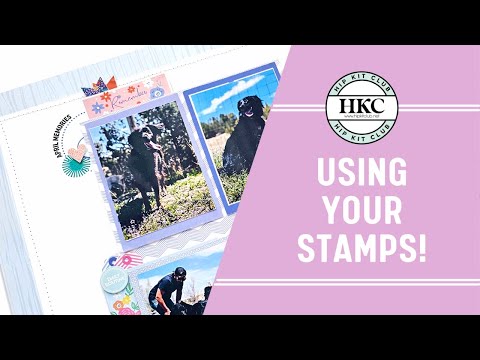
Carrie used the April 2024 Hip Kits to create her layout. She shows how to combine pocket life cards, stamps, and dies for a quick and stunning page. Start by choosing a stamp set with a theme that matches your photos. Use a clear acrylic block to position your stamps easily. Experiment with different ink colors to create contrast or a cohesive color scheme. Don't worry about perfect stamping - slight imperfections add character! Layer stamped elements with die-cuts and stickers for added dimension. This technique is perfect for when you're short on time but still want a wow factor!
Free SVG Cut Files
Download free designs for your Cricut, Silhouette, or Brother. SVG, PNG, DXF, and JPG formats.

3. Hand-stitching for added texture
Want to add a personal touch to your layouts? Try some easy hand-stitching! Sophie Delorme shows us how in this mini-class:
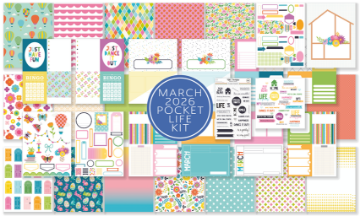
Sophie used the March 2024 Hip Kits for her stitched layout. Start by planning your stitching pattern - you can freehand it or use a stencil as a guide. Use a paper piercer or a needle to create small holes along your chosen path. Thread your needle with embroidery floss in colors that complement your layout. Start stitching using simple straight stitches or get fancy with cross-stitches and backstitch. Don't worry about perfection - the handmade look is part of the charm! This technique adds wonderful texture and a cozy, personal feel to your pages.
4. Ink blending for custom backgrounds
Create stunning custom backgrounds with this ink blending technique from Elisa Fornezza:
Elisa used the March 2024 Hip Kits and subscriber cut files to make her colorful layout. Start with a piece of white cardstock and choose 2-3 complementary ink colors. Using foam blending tools or makeup sponges, apply the lightest color first, working in circular motions. Gradually build up color, overlapping slightly to create smooth transitions. For added interest, try using stencils or masking off areas with washi tape before blending. Once your background is dry, add die-cuts or stamped images on top for a striking contrast. This technique is a great way to add a pop of color and make your title stand out!
Recent Favorites
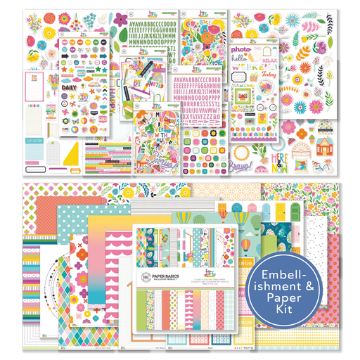
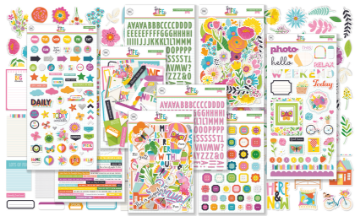
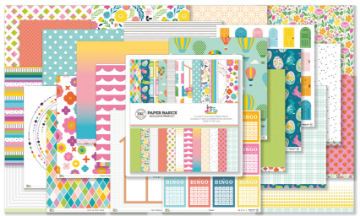
Exclusive papers, embellishments, dies, and more -- curated monthly and shipped to your door.
5. Tone-on-tone stamping
Love a subtle look? Try tone-on-tone stamping like Elisa Fornezza shows us here:
Elisa used the November 2023 Hip Kits for this elegant technique. Choose a patterned paper or cardstock and find an ink that's a shade darker than your base. Stamp your chosen images repeatedly to create a subtle background pattern. The key is to use a light touch - you want the stamped images to blend in, not stand out. This technique works especially well with large background stamps or repeating patterns. It's perfect for adding interest without overwhelming your photos or embellishments, creating a sophisticated and cohesive look.
6. Creative folding techniques
Add dimension to your layouts with this fun folding technique from Petra Kortekaas:
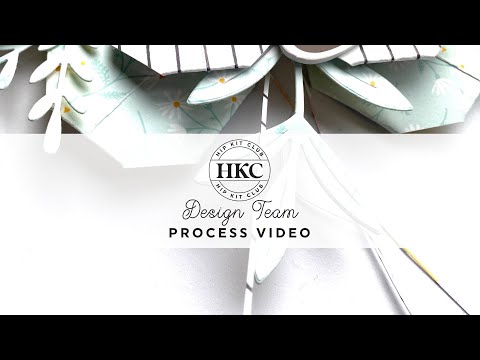
Petra used the August 2023 Hip Kits to create her interactive layout. Start by choosing coordinating patterned papers. Create accordion folds, paper fans, or origami-inspired elements to add depth to your page. Use strong adhesive to secure your folded elements in place. This technique is perfect for adding hidden journaling or extra photos to your layout. Experiment with different sizes and shapes of folded elements to create visual interest and movement on your page.
7. Mixed media magic
Ready to get messy? Try these easy mixed media techniques with Eva Pizarro:
Eva used the June 2023 Hip Kits to create her artsy layout. Start with a gesso base to prepare your paper for wet media. Experiment with watercolors, acrylic paints, or ink sprays to create colorful backgrounds. Add texture with modeling paste through stencils. Layer on stamped images, die-cuts, and stickers. Don't be afraid to get your hands dirty - fingerpainting and splatters add a fun, artistic touch! These techniques are perfect for beginners looking to dip their toes into the world of mixed media.
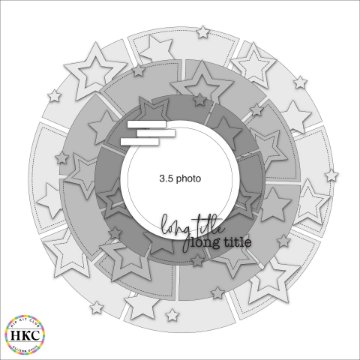
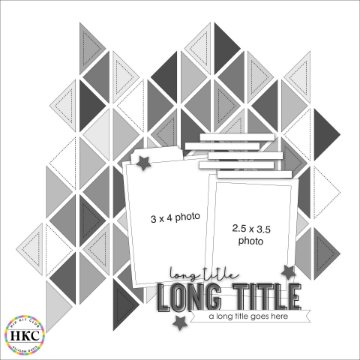
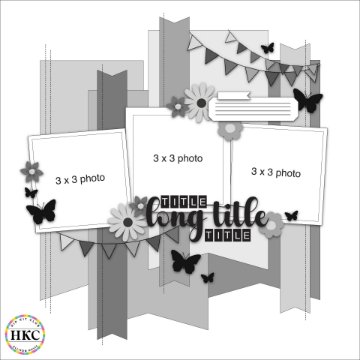
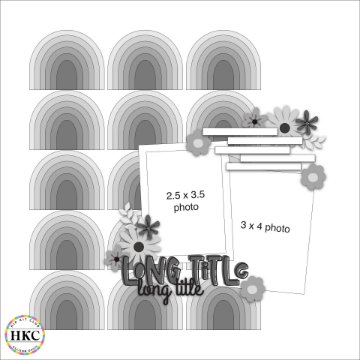
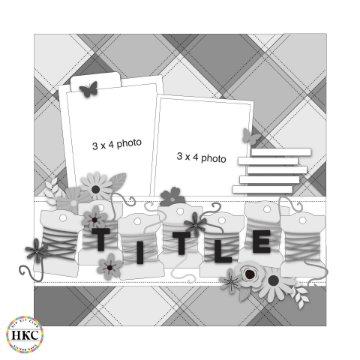
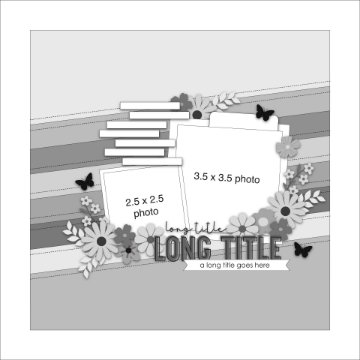
Free Scrapbook Layout Sketches
Printable page sketches to jumpstart your next layout. Just print and create.


8. No-fail mixed media background
Want a foolproof mixed media look? Check out this technique from Petra de Veorge:
Petra used the May 2023 Hip Kits and the awesome Coffee Stain stamp to create her layout. Begin with a light coat of gesso on your background. Use a large background stamp (like the Coffee Stain) with a light-colored ink to create texture. Layer on washes of watercolor or diluted acrylic paint. Add splatters or drips for extra interest. Once dry, lightly sand the surface to reveal layers underneath. This technique is perfect for adding texture and interest to your background without going overboard, creating a subtle but impactful mixed media effect.
9. Creative die cutting
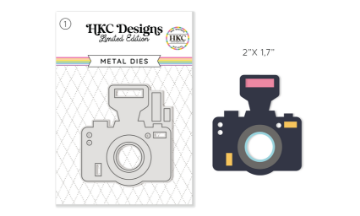
Make the most of your metal dies with these creative techniques from Anke Kramer:
Anke used the February 2024 Hip Kits to create her stunning layout. Don't limit yourself to just cutting shapes - try partial die cutting to create integrated elements on your page. Use dies to create masks or stencils for ink blending or mixed media techniques. Layer multiple die-cuts for dimension. Combine die cuts with stamping and stitching for a unique look. Experiment with different materials like vellum or metallic cardstock for varied effects. This approach helps you get the most out of your die collection and adds custom touches to your layouts.
10. Stencils as templates
Get more bang for your buck with this clever stencil technique from Eva Pizarro:
Eva used the August 2023 Hip Kits to create her layout. Instead of using stencils just for ink or paint, try tracing the designs with a pencil. Once traced, you can hand-stitch along the lines, creating a unique embroidered look. Alternatively, use the traced lines as a guide for fussy cutting patterned paper or for precise placement of small embellishments. This technique allows you to get multiple uses out of each stencil, stretching your supplies and creating one-of-a-kind elements for your pages.
Ready to get crafty?
We hope these techniques inspire you to try something new with your Hip Kits! Remember, there's no right or wrong way to scrapbook - have fun and let your creativity shine. Don't forget to share your creations in our Hip Kit Club Facebook group. We can't wait to see what you make!
Want free designs for your cutting machine?
Download 96 free SVG cut files -- florals, sentiments, backgrounds, and more. Works with Cricut, Silhouette, and Brother machines.
Download Free Cut FilesNeed more inspiration? Check out our blog for daily project ideas and tutorials. Happy scrapping!